It was now time to set everything up in uni.
My first thing to do was to ensure Max could actually stand on one leg!
Due to the size of the head it would have been difficult for him to stand by himself therefore a rig will need to be in place when he walks.

My first thing to do was to ensure Max could actually stand on one leg!
Due to the size of the head it would have been difficult for him to stand by himself therefore a rig will need to be in place when he walks.


Now to secure my set to the table.
As you can see in the image below the table i'm working on is a non perforated steel table, I was working on this for a week as the perforated ones were being used, I thought I would be able to animate on this but this proved difficult as the magnets to secure Max's feet to the floor could not go through the thick felt and hold the small steel plate within Max's foot. With this problem I didn't know how I was going to animate. His feet kept shifting while animating, and this happened day after day, which frustrated me a LOT!

Luckily a week later another student had finished with the perforated table and I made the old switch'aroo. So I had to remove my set from the steel table and re dress it on the perforated table.
But this is how I set up and dressed my set the first time .
To secure the felt to the table I used double sided tap. This was used as I didn't want the felt shifting at all while animating, but I also wanted to be able to remove the felt from the table once I had finished animating.
As you can see in the image below the table i'm working on is a non perforated steel table, I was working on this for a week as the perforated ones were being used, I thought I would be able to animate on this but this proved difficult as the magnets to secure Max's feet to the floor could not go through the thick felt and hold the small steel plate within Max's foot. With this problem I didn't know how I was going to animate. His feet kept shifting while animating, and this happened day after day, which frustrated me a LOT!
Luckily a week later another student had finished with the perforated table and I made the old switch'aroo. So I had to remove my set from the steel table and re dress it on the perforated table.
But this is how I set up and dressed my set the first time .
To secure the felt to the table I used double sided tap. This was used as I didn't want the felt shifting at all while animating, but I also wanted to be able to remove the felt from the table once I had finished animating.


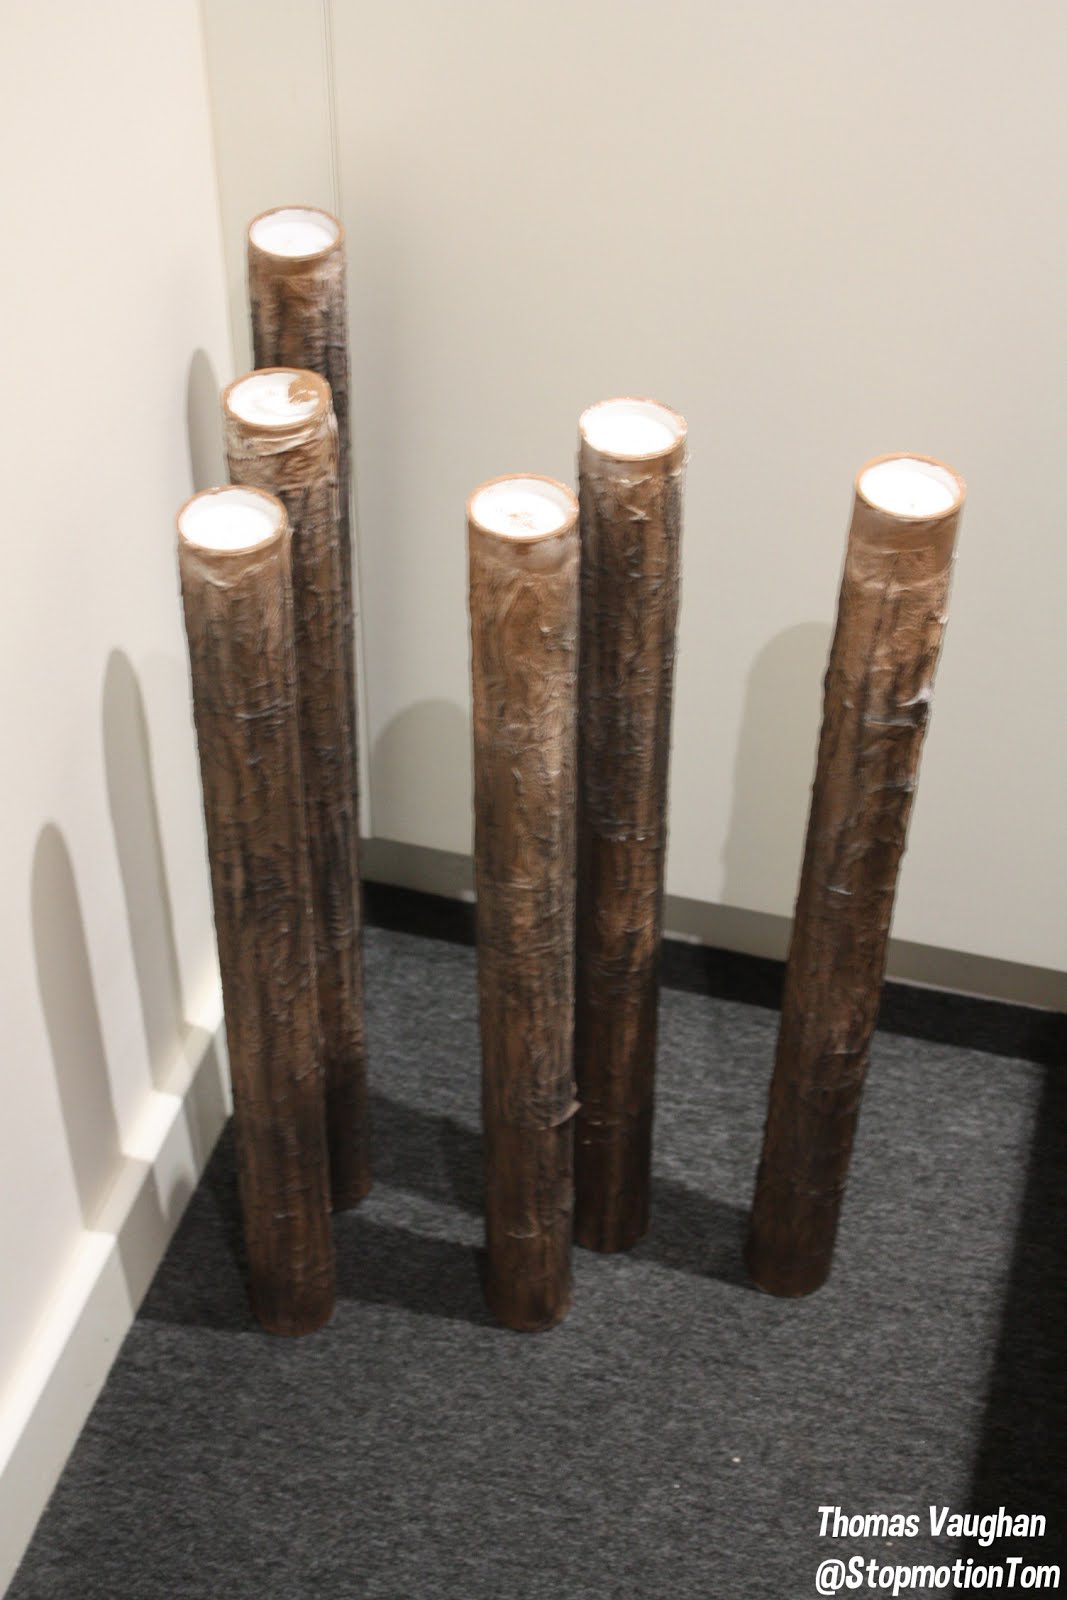
For the tree I needed to find a way of securing them to the set but also allowing me to move them around for different scenes to give the illusion that Max is in a different location to the forest.
To do this I started by tracing the circumference of the trees on to a thin piece hardboard.

A square was then cut out and secured to the bottom of the trees.

The trees were then put on set and placed in position for my first shot.
As you can see the hardboard is clearly visible therefore I now how to hide this.
As you can see the hardboard is clearly visible therefore I now how to hide this.

I cut a hole within the felt so the trees could fit in to. The hole was not cut out however, to do the hole I started in the centre and cut 3 lines outward (Exactly like the lines in a Mercedes car logo). This would allow me to pull back the felt to insert the tree, but if the tree had to be removed I could fold the felt back down and do my best to hide the cut lines!
Once I had the felt cut I put some double sided tape within the hole. Again this will keep the tree secure but also removable. The trees had to be fairly secure incase I bumped the table or nudged one by accident, the tape ensured they would stay up and in the same position.

This is a before and after of the felt covering the tree


To hide were the felt meets the tree I applied glue around the edges and attached foliage to the felt.

This was the finished set up for my first shot. Where the trees and felt meet are now hidden in foliage and rocks.
You can also see and the top of the image that my green screen has been tied to the scaffolding we have in the stop motion room (mainly for lights to be hung from). With the green screen tied it assured me that it would not fall or collapse on to my set.
Time to Animate!