In this post I'm going to show how I made a one part mold for the eyes and eyebrows, plus how I painted the head but first molds. I didn't want to use my foam board as they were going to be very small walls to build around the sculpts and I wanted to test to see how simple a wall for a mold could be.
,If your just getting started in molding or don't have the money to get the materials, hopefully it can show you that you can mold things very simply.
To begin I sculpted the shape of the eye (Note he has eyebrows in the photo below, they are not the ones I used, they were quickly brake and roll up sculpey so I can see roughly what he looks like!).
I was going to sculpt the other eye but then thought why waste time. I decided to bake the eye and use that eye as a master sculpt. I would then mold that and be able to cast multiple eyes that would all be identical!
Time Saving!
,If your just getting started in molding or don't have the money to get the materials, hopefully it can show you that you can mold things very simply.
To begin I sculpted the shape of the eye (Note he has eyebrows in the photo below, they are not the ones I used, they were quickly brake and roll up sculpey so I can see roughly what he looks like!).
I was going to sculpt the other eye but then thought why waste time. I decided to bake the eye and use that eye as a master sculpt. I would then mold that and be able to cast multiple eyes that would all be identical!
Time Saving!

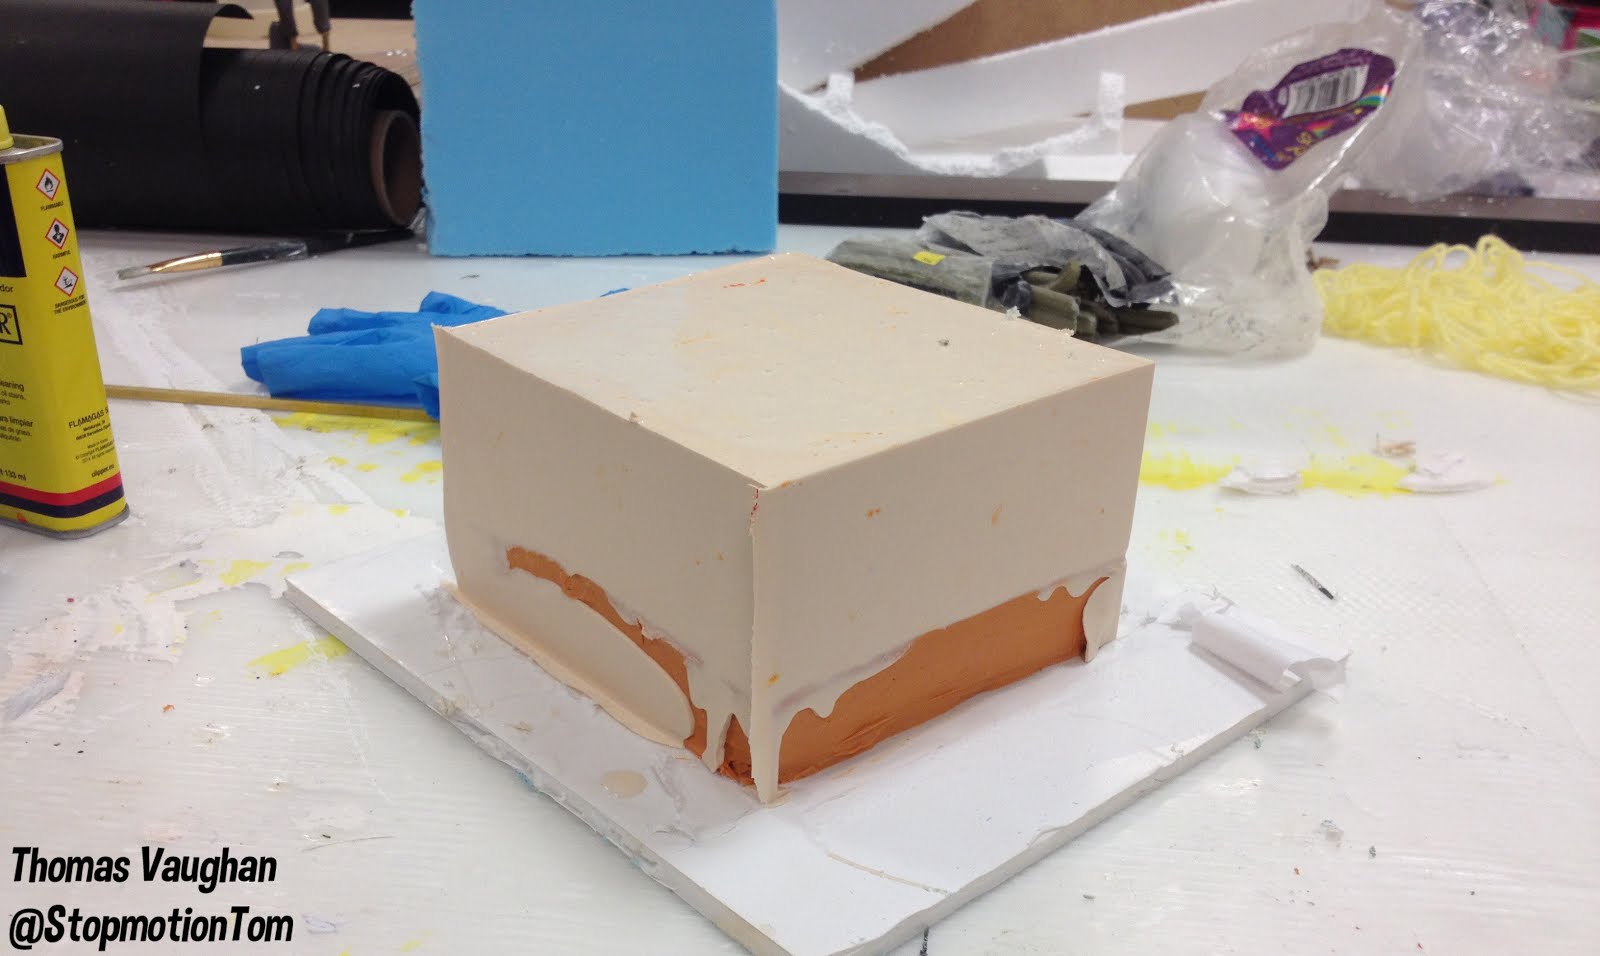
Now on to molding the eye. Again this is not going to be a pretty mold. I just needed something quick!
I constructed a wall around the eye out of plasticine. No real reason for using plasticine it was just what I had lying around at the time. Once it was rolled around I began pushing it to the surface ensuring there were no gaps that silicone seep out from.
By the way I'm doing a silicone mold and casting the eyes in fast cast.
I constructed a wall around the eye out of plasticine. No real reason for using plasticine it was just what I had lying around at the time. Once it was rolled around I began pushing it to the surface ensuring there were no gaps that silicone seep out from.
By the way I'm doing a silicone mold and casting the eyes in fast cast.

The silicone was then poured in and once cured I could then remove the plasticine.


As you can see below the mold is not that pretty however it did the job it was intended to do, and that was to cast eye's.

the same was done for the eyebrows, however this time the mold was going to be fast cast and the eyebrow silicone. I chose to use fast cast as a mould as using plaster would have taken a while to set. And seen as it was such a small mold I didn't mind using my fast cast.
You can use fast cast to create bigger mold, however I have to purchase fast cast, whereas the uni provides plaster.... so Im going to use that for big molds!

I poured the fast cast and the mold was done within 10 minutes! A very good benefit of using fast cast as molds!


I don't have a photo of the cast eyebrows... whoops... but you'll see them on the finished puppet in my later posts!
Painting the Head
On to painting the head. to do this I used Montana Gold spray paint, specifically the colour 'Bone' for the head.
I chose to use a spray paint over painting it on with a brush as I could get an even coat with no streaks while spraying. Also the colour is always there I dont have to worry about mixing the exact colour if I were to hand paint it on and needing to do a re coat.

This is how the spay paint turned out!

I really liked the colour and liked the spray paint! it give an even coat and has no streak marks or any form of paint building up in one area. The next step was to get the dark tone around the eyes. To do this I will be using chalk pastels. As you can see I have scraped off shavings of a black chalk pastel. With a brush I will brush on small amounts of chalk on to the centre of the eye socket (the fast cast eye will not be in place) and working my way out so it fades as it gets closer to the edge of the socket.

1 eye down, 1 to go...


Once both eyes were brushed with chalk pastels I sprayed the chalk with mat finish clear coat. This will stop the chalk from wiping off of the sculpt.
You can now see with the darkened eyes, in my opinion, it makes the eyes stand out a lot more!

With the hair I decided to brush paint it with acrylics as I wasn't to worried with having brush marks here.

I also decided to add a darker tone within each gap of hair with chalk pastels and clear coat the hair.